Jupyter is a spinoff project from IPython that aims to “develop open-source software, open-standards, and services for intearctive computing across dozens of programming languages”. The name itself is a reference to the three core languages supported by them: Julia, Python, and R.
One of the famous feature is the Notebook that is mainly used as Python IDE, and although CodeAnywhere by default has Python as its supported feature, the Jupyter Notebook has advantage in its “notebook” format that allows interactive interface that is very useful in learning process.
Today, I will explain how to Install Jupyter Notebook on CodeAnywhere.
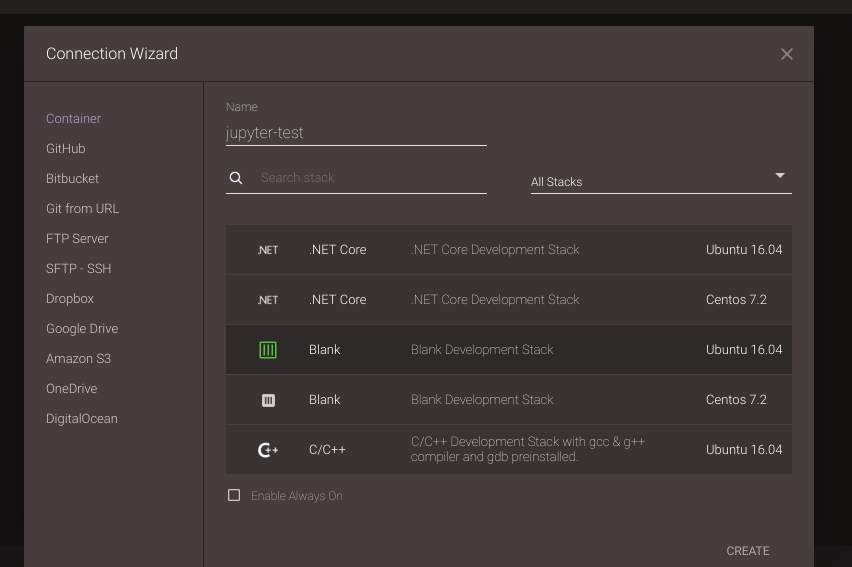
First is to open up the CodeAnywhere and create a blank container by going File -> New Connection -> Container
Choose either Ubuntu or CentOS and name it as you wish, for example “jupyter”, in this example we will use Ubuntu.

Then, right click on the container name, and choose “SSH Terminal” to launch shell interface and start the installation of the Jupyter Notebook.
Then, based on the information here, we run these commands:
sudo wget https://repo.anaconda.com/miniconda/Miniconda3-latest-Linux-x86_64.sh
sudo apt-get update
sudo apt-get upgrade
sudo apt-get install bzip2
bash ./Miniconda3-latest-Linux-x86_64.sh
rm Miniconda3-latest-Linux-x86_64.sh
Upon installing the conda, make sure to initialize Miniconda3 by choosing ‘yes’ on the question whether to run conda init. We then removed the installer file to conserve disk space at the container and close the current terminal and open a new one to restart the Bash session.
Then, we need to update the current conda installation to prepare for the Python environment.
conda update conda
conda update --all
conda clean --all
Then, we will create the Python 3.7 (or other version) environment by running these commands.
conda create --name [name that you like, for example 'jupyter'] python=3.7
conda clean --all
source activate [name you decided above]
Then, we can start the installation of Juypter Notebook.
conda install jupyter notebook
conda clean --all
To avoid the requirement to copy and paste the token everytime we start the Notebook, we can setup the password using these command:
jupyter notebook --generate-config
jupyter notebook password
To run the Notebook, run the command:
jupyter notebook --ip=0.0.0.0We can access the Notebook using this URL:
http://port-8888.[container name]-[codeanywhere username].codeanyapp.com
Reference:
https://qiita.com/azk0305/items/636c94e67e00eb0c5750
Pingback: How to Auto Start Jupyter on CodeAnywhere – Gatya Gumilang
Pingback: How to Install Octave Kernel in Jupyter | Gatya Gumilang
Pingback: How to Install Octave Kernel in Jupyter