


GNU Octave, is the open-source implementation of high level programming languages, primarily used in calculations. It is among the open-source alternative of MATLAB, however, compared to others, it has advantages in high compatibility with MATLAB.
Among with Python and R, Octave are popular in data science community, particularly in learning and developing new algorithm, before translating the code into more robust language like C++ or JAVA.
Following the previous posts on Jupyter, today we will discuss how to install Octave kernel in Jupyter, so that you can run it through the Notebook and the possibility to have it installed on a server.
First, we need to install Jupyter, if you are going to install it in CodeAnywhere container, please refer to my previous post on it.
Following the post, we will install it on Ubuntu container in CodeAnywhere.
Open the terminal and run these commands to install the Octave kernel.
sudo add-apt-repository ppa:octave/stable
sudo apt-get install -y --no-install-recommends octave octave-symbolic octave-miscellaneous python-sympy gnuplot ghostscript
Then, we can install the octave_kernel using Conda.
conda install -c conda-forge octave_kernel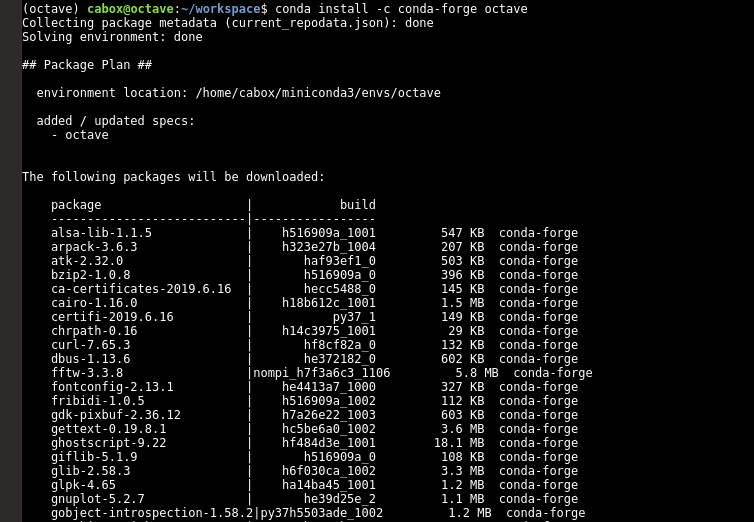
If you are installing it on a server, don’t forget to clean up the cache to preserve disk space. Run the code below to clean up the cache.
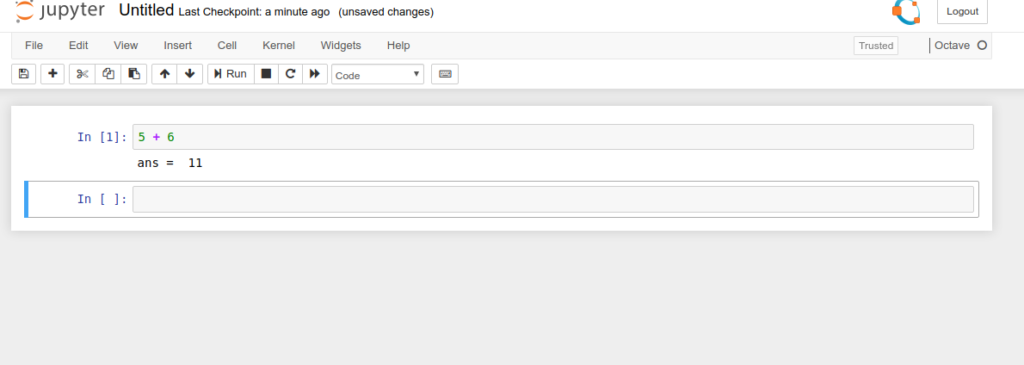
conda clean --allOpening up the Notebook, you can see that Octave is available as a kernel to select when you create new file.
If you are getting black plots, run the following command on the Notebook.
%plot --format svgReferences:
https://github.com/rubenv/jupyter-octave
https://qiita.com/homines22/items/4a06e1da81446e8fcd37